

(Every time I see a bag of marshmallows, I feel compelled to squish it. Does that make me weird?)
Most people who know me, know that I rarely turn down chocolate. As a kid, one of my favorite ice cream flavors (and to this day still ranks in the top 3) was rocky road. What’s not to love about awesome chocolate ice cream, with marshmallows and almonds? Plain perfection.
A few years ago, on a whim, I set out to make some rocky road candy. I went to the store and randomly bought some chocolate, marshmallows and salted almonds. I threw them together with not much of a plan in mind, and the finished product was damn near perfect in my eyes. I don’t think I’ve created such a hassle-free dessert recipe since.


Silly me, the recipe calls for a total of 4 cups of chocolate but I only bought half that! So, I had to scale down my recipe a bit for the photos and all, but the original recipe is below. I used a mixture of semi sweet and 60% chocolate cause that’s what I had, but I think this would be equally good with half milk chocolate and half semi sweet, which is how I made this when I first tried it out a few years back. I think next time I’d also increase the amount of almonds. They provide the perfect salty crunch and I find that they got somewhat lost in the sea of marshmallows. However, when you find a random almond, it makes them that much more delicious.
rocky road squares
(yields 36 squares, depending on how large you cut them)
4 cups semi sweet, milk, dark or white chocolate chips (2 – 12 oz bags)
6 oz roasted salted whole almonds (or more, if you’d like)
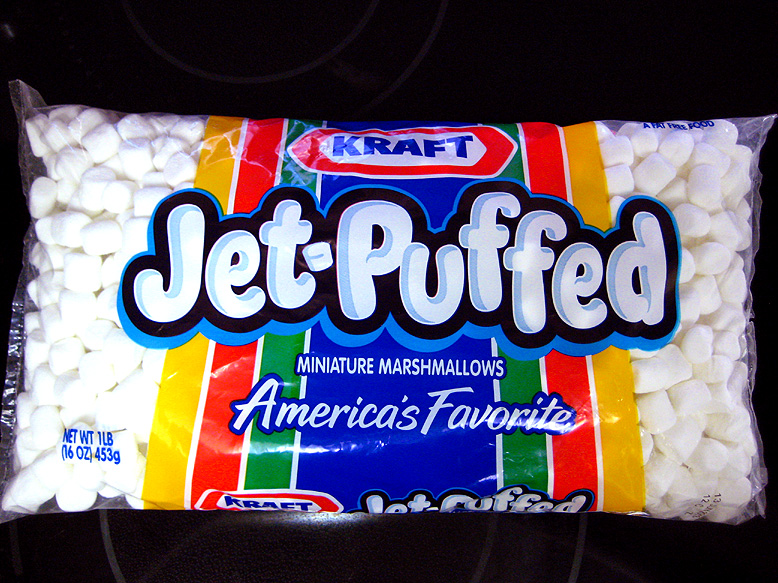
8 oz mini marshmallows
for decorating, optional:
1/2 tsp coarse sea salt
1 oz white chocolate chips
1/2 tsp vegetable oil
Line a 1/4 sheet pan or a 9×13 inch baking dish with parchment paper. Make sure the parchment hangs over at least two edges of the pan by an inch or more. Set the pan aside. [edit: in the original recipe, I used plastic wrap which didn’t work so well. I switched to parchment paper and edited the recipe accordingly.]
In a large microwave-safe bowl, place your chocolate chips and microwave on half power, stirring every 30 seconds or so, until the chocolate is mostly melted and slightly warmer than body temperature. In my microwave, it took a total of 2 1/2 minutes, stirring once after the first minute, and then after each additional 30 seconds. Once the time is up, there should still be a few bits of unmelted chocolate, but that’s just fine because the residual heat of the bowl and the rest of the chocolate should melt it, no problem. Just keep stirring until all the chocolate is melted.
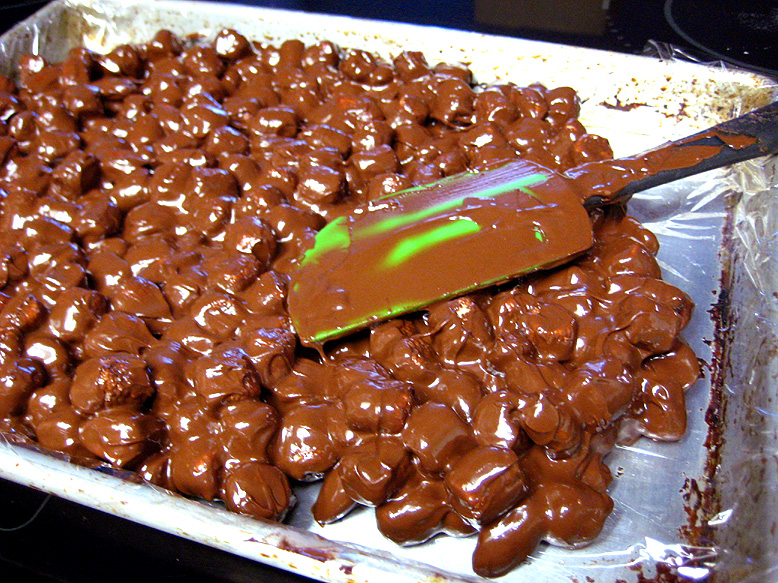
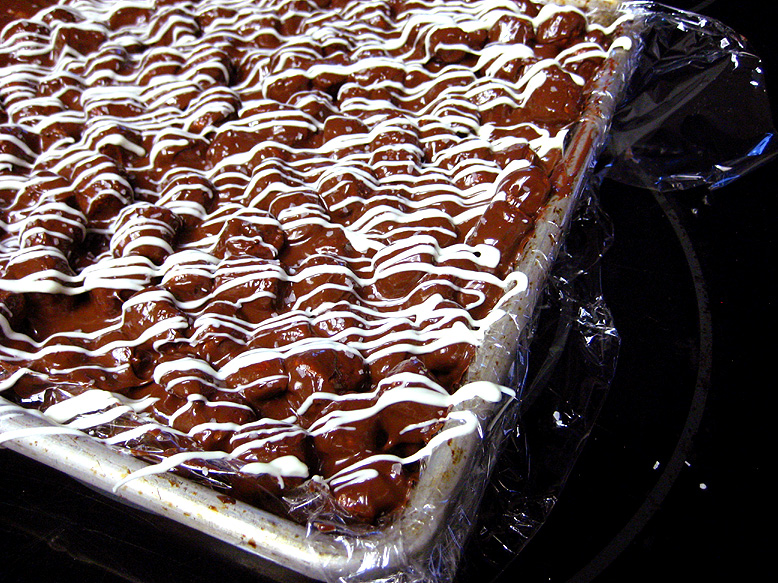
Once you have a glorious bowl of melted chocolate, stir in your almonds and the tiny marshmallows with a rubber spatula. Be sure to really scrape down in the bottom of the bowl so that all the chocolate is incorporated. Carefully spread the chocolate mixture on your lined sheet pan or baking dish, holding the parchment in place if need be, so that it doesn’t slide around and make your job difficult. From here, you can chill your pan of tasty goodness and proceed with the cutting instructions, or you can make them even more awesome by melting some white chocolate with a bit of vegetable oil, stirring until smooth, and drizzling it on top of the pan. You could also sprinkle on some sea salt if the mood strikes. I like to do this cause between all that chocolate and marshmallow, you’re dealing with a pretty sweet snack. The salt will just liven things up a bit.
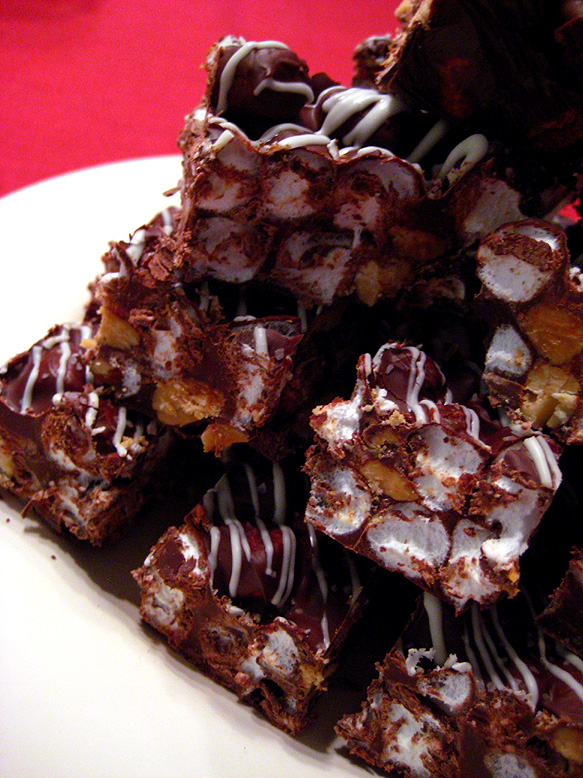
From here, place the entire pan onto a flat surface in freezer to chill for 30 minutes. You can also let these firm up in the refrigerator, but it requires slightly more time and willpower (and usually I’m short on both). Once the whole pan is chilled and the chocolate is no longer tacky, carefully lift the slab ‘o chocolate out onto a cutting board, gently peeling off the parchment as you go. With a sharp chef’s knife or a bench knife (my preferred method!), cut first into strips, and then cut the strips into equally sized squares. These little things are awfully rich, so unless you feel like embracing a full-on sugar high, cut ’em small, huh?

These little rocky road squares will last perfectly in an airtight container or a large Ziploc bag at room temperature for a week or so. I haven’t tested them beyond that, but I can’t imagine they’d be terrible if kept longer. I doubt they’ll last that long, though!


One thought on “rocky road squares”